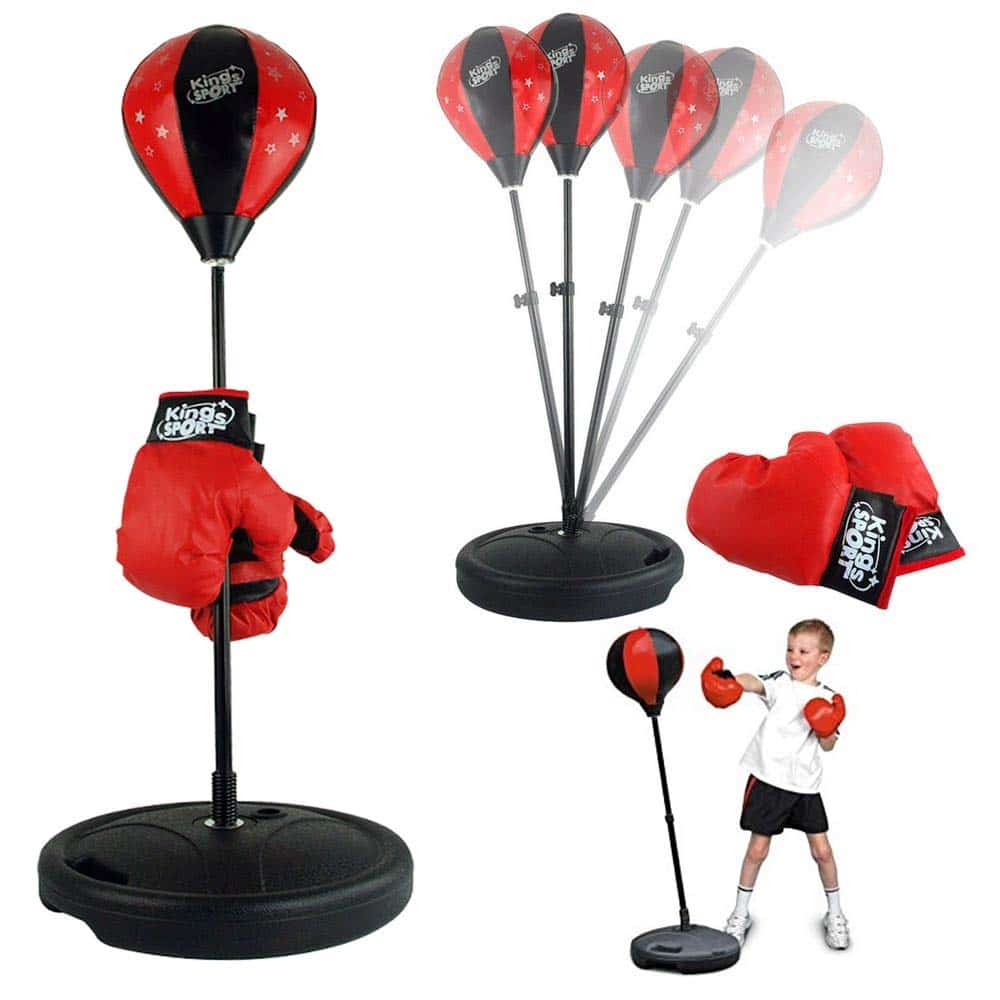
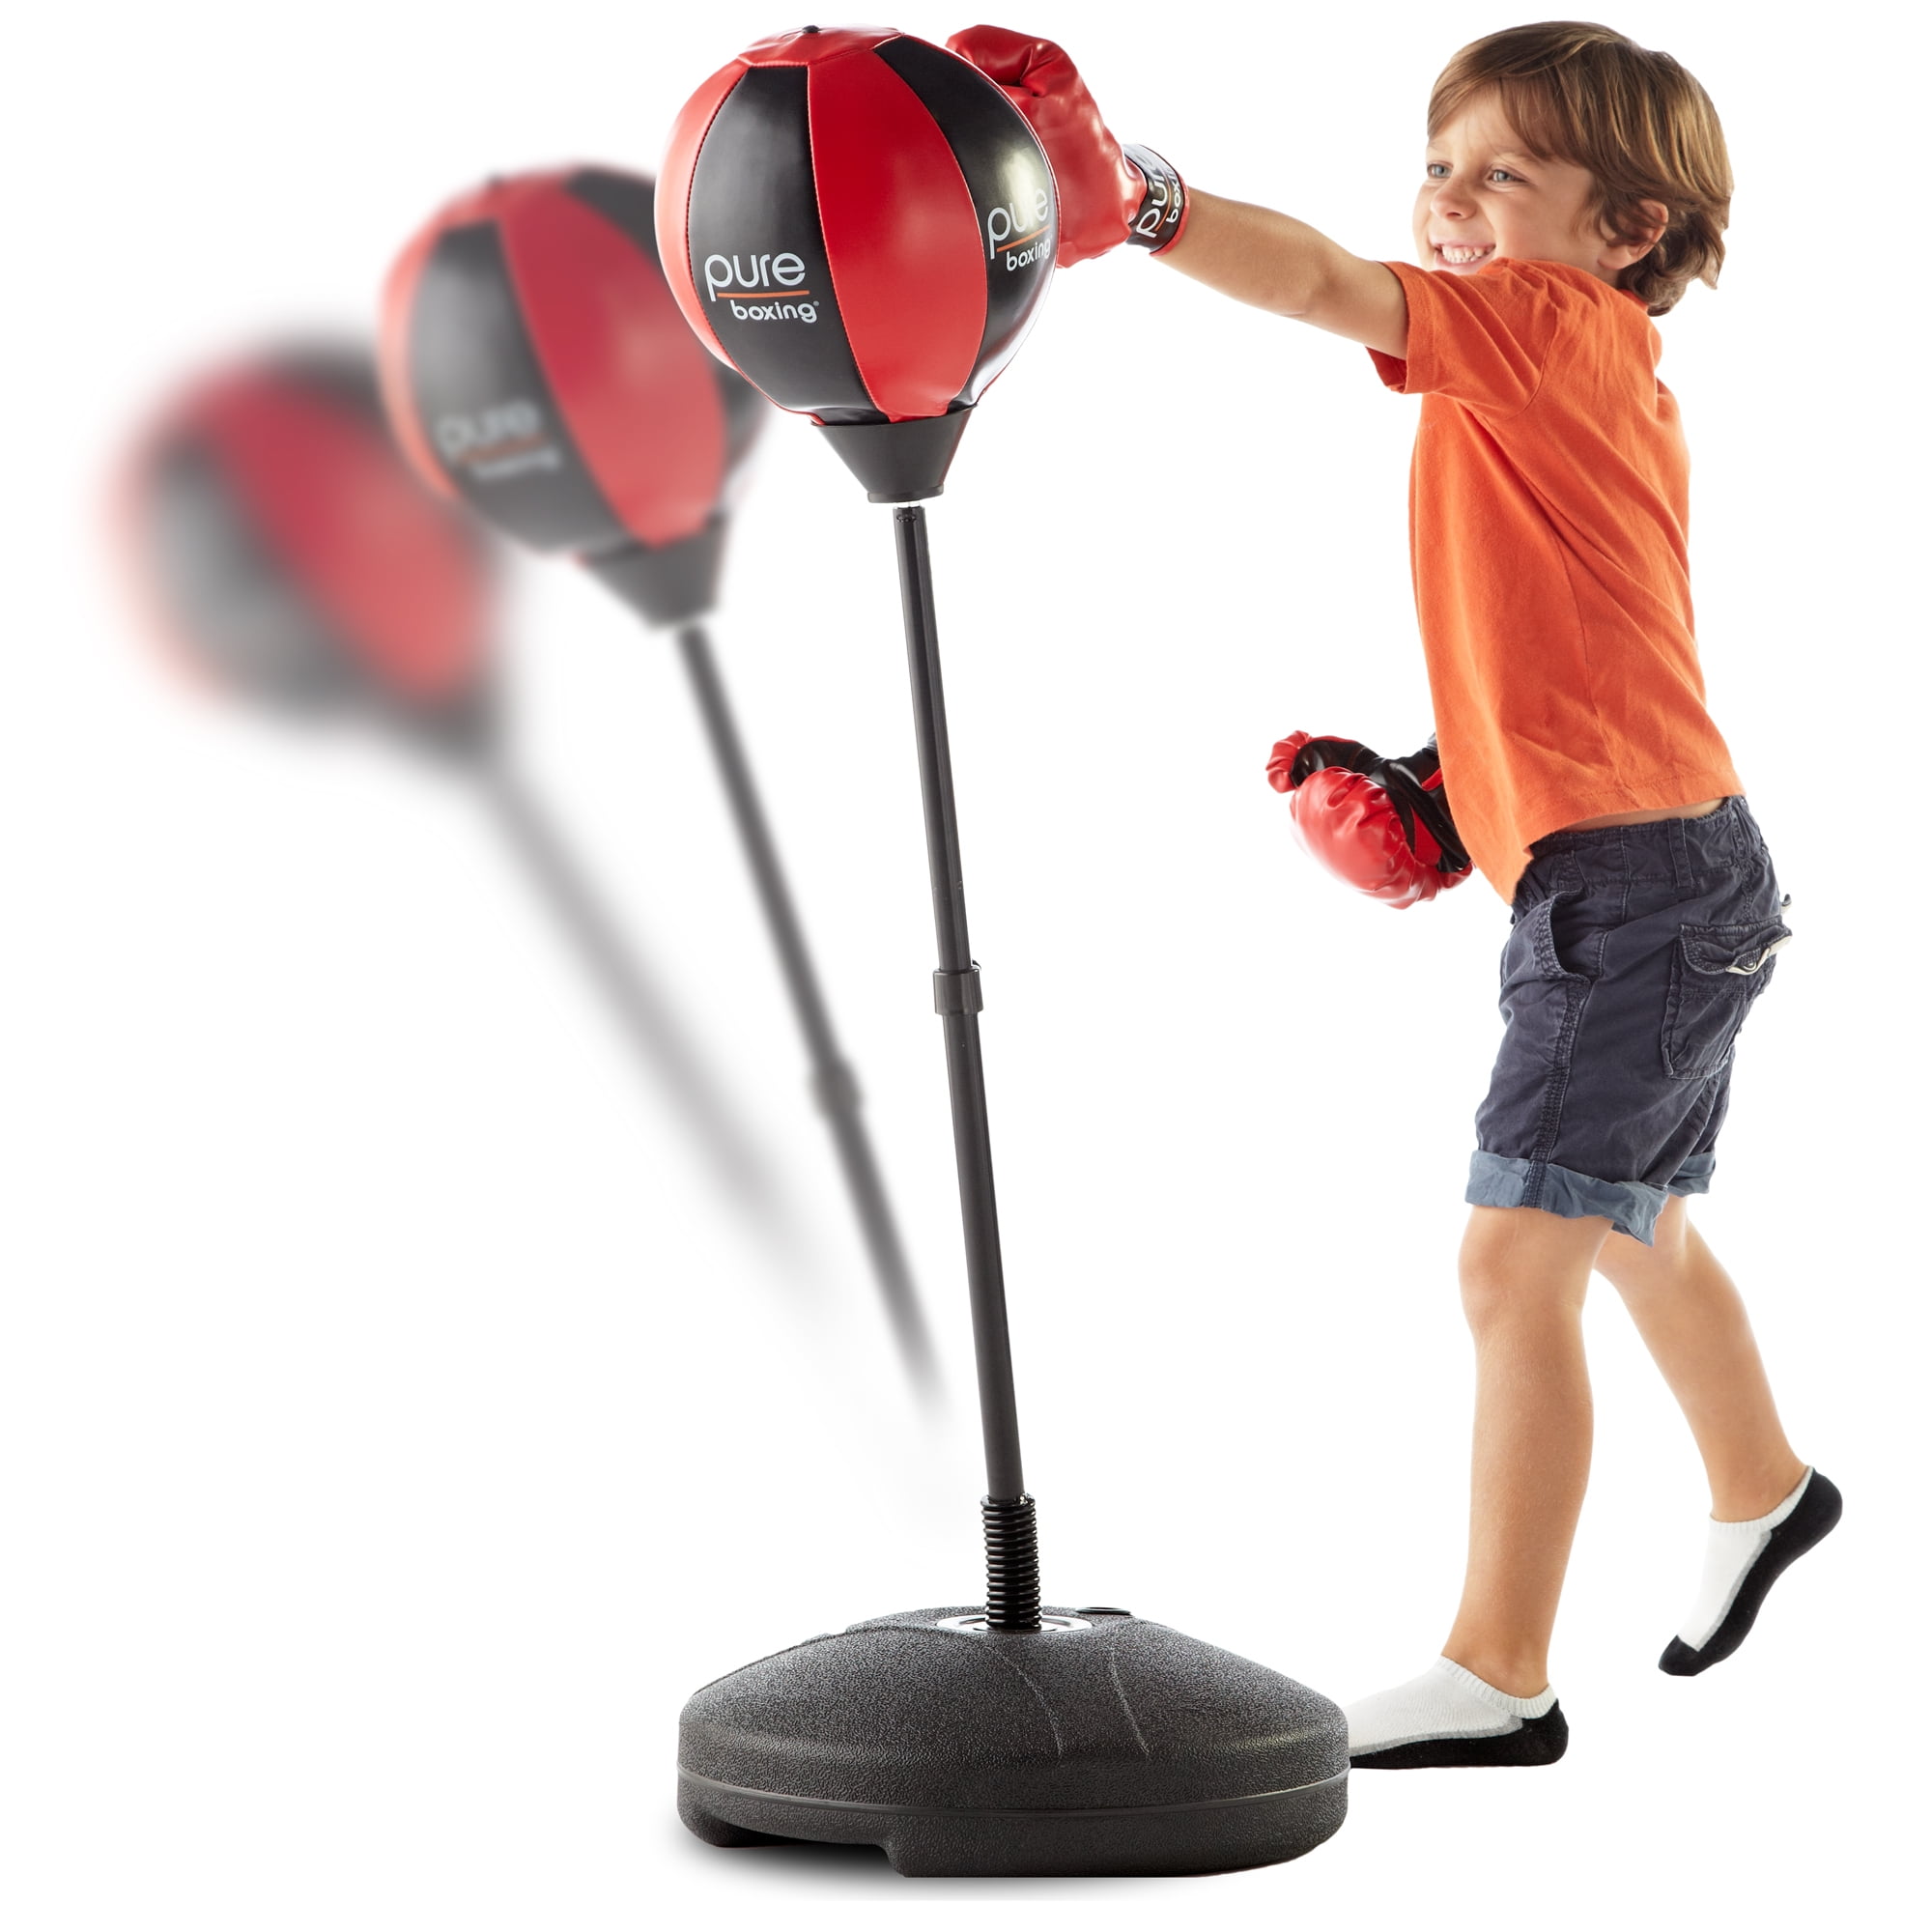
What is a Floor Punching Bag?
A floor punching bag is a versatile training tool. It is designed for striking, kicking, and other martial arts moves. Unlike hanging bags, a floor punching bag sits on the ground. It often has a weighted base to prevent tipping during workouts. The floor punching bag is perfect for spaces where ceilings can’t support a hanging bag. It is also easy to move, making it ideal for home gyms. This bag allows fighters to practice punches and kicks at full force. Skills like footwork and timing improve with regular use. Floor punching bags come in various shapes and sizes. This makes them suitable for both beginners and pro athletes. Users of all ages and fitness levels can benefit from a floor punching bag. In short, a floor punching bag offers a solid workout for anyone looking to improve their martial arts skills or get fit.
Choosing the Right Floor Punching Bag
Selecting the suitable floor punching bag can elevate your training. Key factors like size, weight, type, and material contribute to a tailored experience. Consider the space you have and your fitness goals when choosing.
Considerations for Size and Weight
Size and weight are crucial for stability and resistance. A too light bag may topple over during intense sessions. A too heavy bag may be hard to move. Choose a bag that matches your strength and workout intensity. For kids or beginners, a lighter, smaller bag is best. Advanced users should opt for a larger, heavier bag to simulate a more robust opponent.
Types of Floor Punching Bags
Floor punching bags come in various shapes and types. Traditional models suit general training. Reflex bags have a spring base for reaction training. Dummy bags allow grappling alongside striking. Multi-layer bags offer a realistic feel. Choose a type that aligns with your workout routine.
Materials and Durability
A quality floor punching bag should withstand heavy hits. Leather bags offer longevity but may come at a higher cost. Synthetic bags are affordable and sufficient for casual training. Reinforced stitching and a sturdy base ensure durability. Consider the material’s feel, especially if you practice bare-handed.
Benefits of Using a Floor Punching Bag
A floor punching bag brings several advantages to your fitness regimen and martial arts practice. The benefits span from improving physical health to enhancing combat techniques.
Physical Fitness Advantages
Integrating a floor punching bag into your workouts can have a significant impact on your physical fitness. Here are some of the key benefits:
- Cardiovascular Health: Engaging with the bag increases heart rate, which can boost cardio health.
- Strength Development: Striking the bag builds muscle strength, especially in the arms, legs, and core.
- Endurance: Continuous workouts with the bag develop staying power for longer training sessions.
- Flexibility: The dynamic movements required for hitting the bag can improve overall flexibility.
- Calorie Burning: A session with the bag is intense and burns a high number of calories.
These fitness gains contribute to a more effective workout. Plus, they promote the well-being and conditioning needed for martial arts or any physical activity.
Technique Improvement and Versatility
A floor punching bag is not just a tool for fitness. It also serves to hone martial art techniques and combat skills.
- Accuracy: Regular practice improves your ability to hit targets with precision.
- Timing: Knowing when to strike the bag can translate to better timing in a real fight.
- Footwork: Moving around the bag helps improve your mobility and balance.
- Versatility: The bag supports a variety of workouts, from boxing to mixed martial arts.
By consistently training with a floor punching bag, you will see noticeable improvements in your form and technique. This versatility makes it an invaluable piece of equipment for both novices and seasoned athletes alike.
Setting Up Your Floor Punching Bag
Proper setup is essential for the optimal use of a floor punching bag. Here are some practical tips and safety measures to consider when setting up your bag.
Placement Tips
To set up your floor punching bag effectively, choose a location that is spacious and free of obstructions. Ensure there is enough room to move around the bag, as this space is needed for footwork and maneuvering during workouts. The surface should be flat and even to prevent the bag from wobbling. If possible, place a mat underneath to protect your flooring and minimize noise. Positioning the bag near a mirror can help you observe and correct your form while training.
Safety Precautions
Safety is paramount when using a floor punching bag. Always check that the bag is securely positioned before each session. The base should be sufficiently weighted or filled according to the manufacturer’s instructions to prevent it from tipping. When practicing, wear appropriate gear, such as hand wraps or gloves, to protect your hands. Kids should train under adult supervision. Avoid wearing jewelry or watches that could get caught on the bag. Lastly, if you feel any pain during your workout, stop immediately to prevent injury.

Effective Workouts with a Floor Punching Bag
To get the most from your floor punching bag, you need a solid workout routine. Here’s how to create effective sessions, whether you are beginner or seasoned.
Basic Drills for Beginners
New to the floor punching bag? Start with these drills:
- Jab and Cross: Stand facing the bag. Alternate left and right punches.
- Front Kicks: Kick the bag with the ball of your foot. Use both legs.
- Duck and Weave: Practice head movement and body evasion techniques.
- Round Kicks: Aim roundhouse kicks at the bag’s midsection from both sides.
- Combo Practice: Chain jabs, crosses, and kicks in sequences.
These drills develop coordination, power, and technique. Beginners should focus on form over force.
Advanced Combinations for Experienced Users
Experienced? Incorporate these advanced combinations:
- High-Low Strikes: Mix head-level punches with body shots.
- Speed Drills: Execute fast punch-kick combos to push your limits.
- Power Kicks: Deliver strong roundhouse and side kicks for impact training.
- Defense to Offense: Combine blocks and counterattacks in fluid motions.
- Freestyle Sparring: Mimic fighting scenarios, moving around the bag with varied strikes.
Train in intervals for best results. Push for speed and power, but rest in between to maintain quality.
Maintenance and Care for Your Floor Punching Bag
Proper maintenance ensures your floor punching bag lasts a long time. Sticking to a regular care routine can save you money and keep the bag in good shape for consistent training.
Cleaning and Storage
To keep your floor punching bag clean, wipe it down after each use. Use a damp cloth for cleaning. Avoid harsh chemicals that can damage the material. Store your bag in a cool, dry place when not in use. This prevents moisture build-up that can lead to mildew. If the bag has a fillable base, empty it to avoid leaks and lighten it for storage.
Common Wear and Tear Issues
Floor punching bags can show signs of wear over time. Look out for these common issues:
- Surface Cracks: Check for cracks or splits in the bag’s material. Repair these early to prevent further damage.
- Loose Seams: Inspect stitched areas for looseness. Stitch or patch any weak spots to avoid tears.
- Base Stability: Make sure the base stays weighted down. Refill or adjust as needed to keep the bag stable.
- Internal Breakdown: Feel for soft spots or material shifting inside. Add filler or adjust the internal padding if necessary.
Regular checks can catch problems before they become serious. Deal with these issues promptly to ensure your floor punching bag remains a reliable part of your training arsenal.

Alternatives to Floor Punching Bags
While floor punching bags offer convenience and versatility, alternative options might suit different training needs or space constraints. Let’s explore other types of punching bags you can consider.
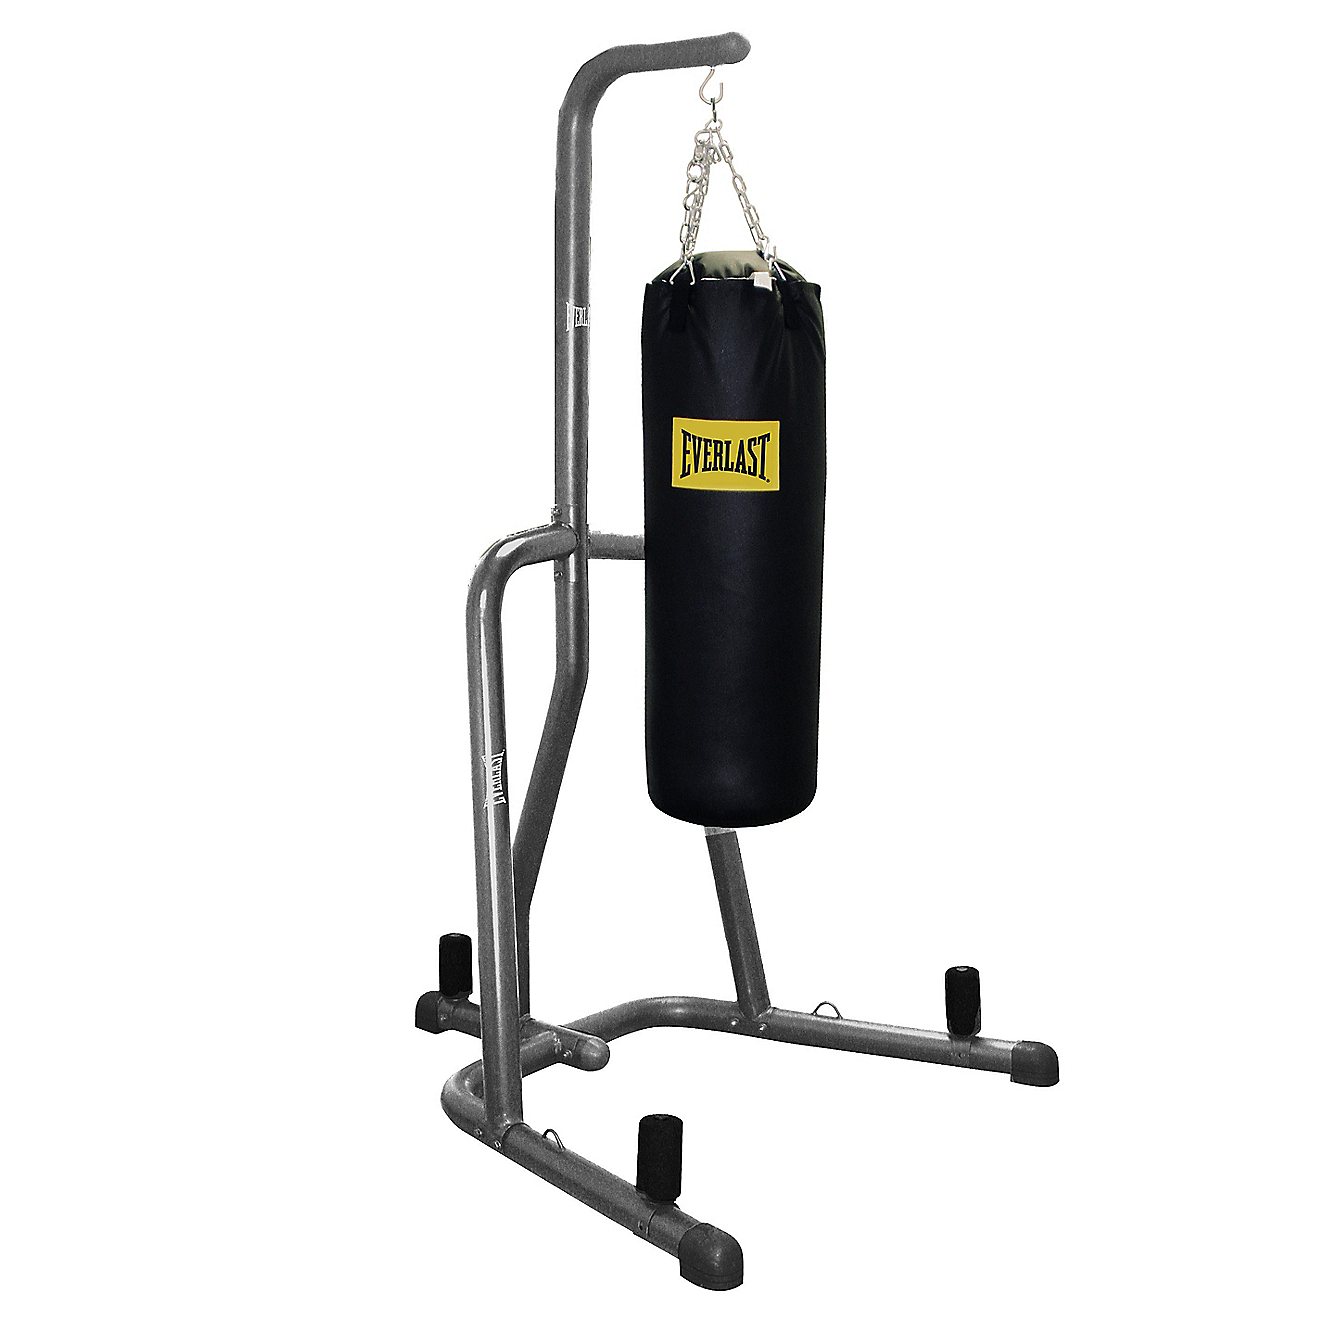
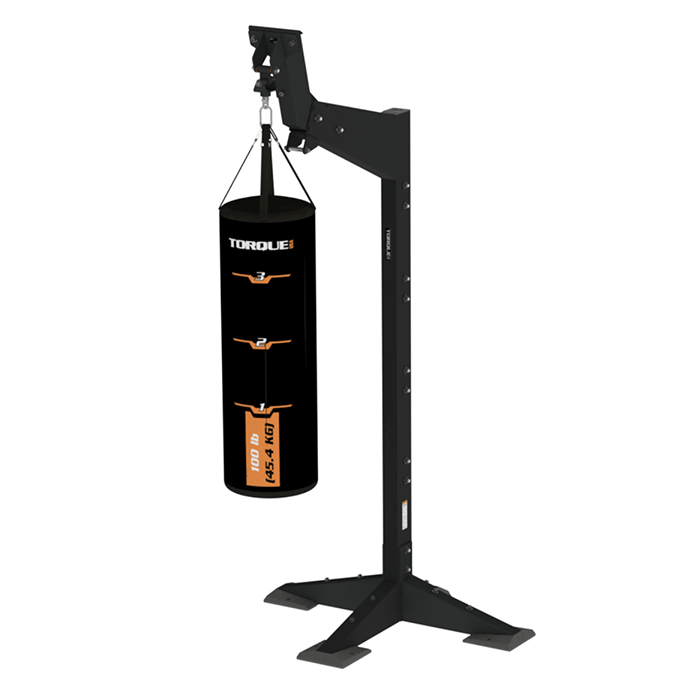
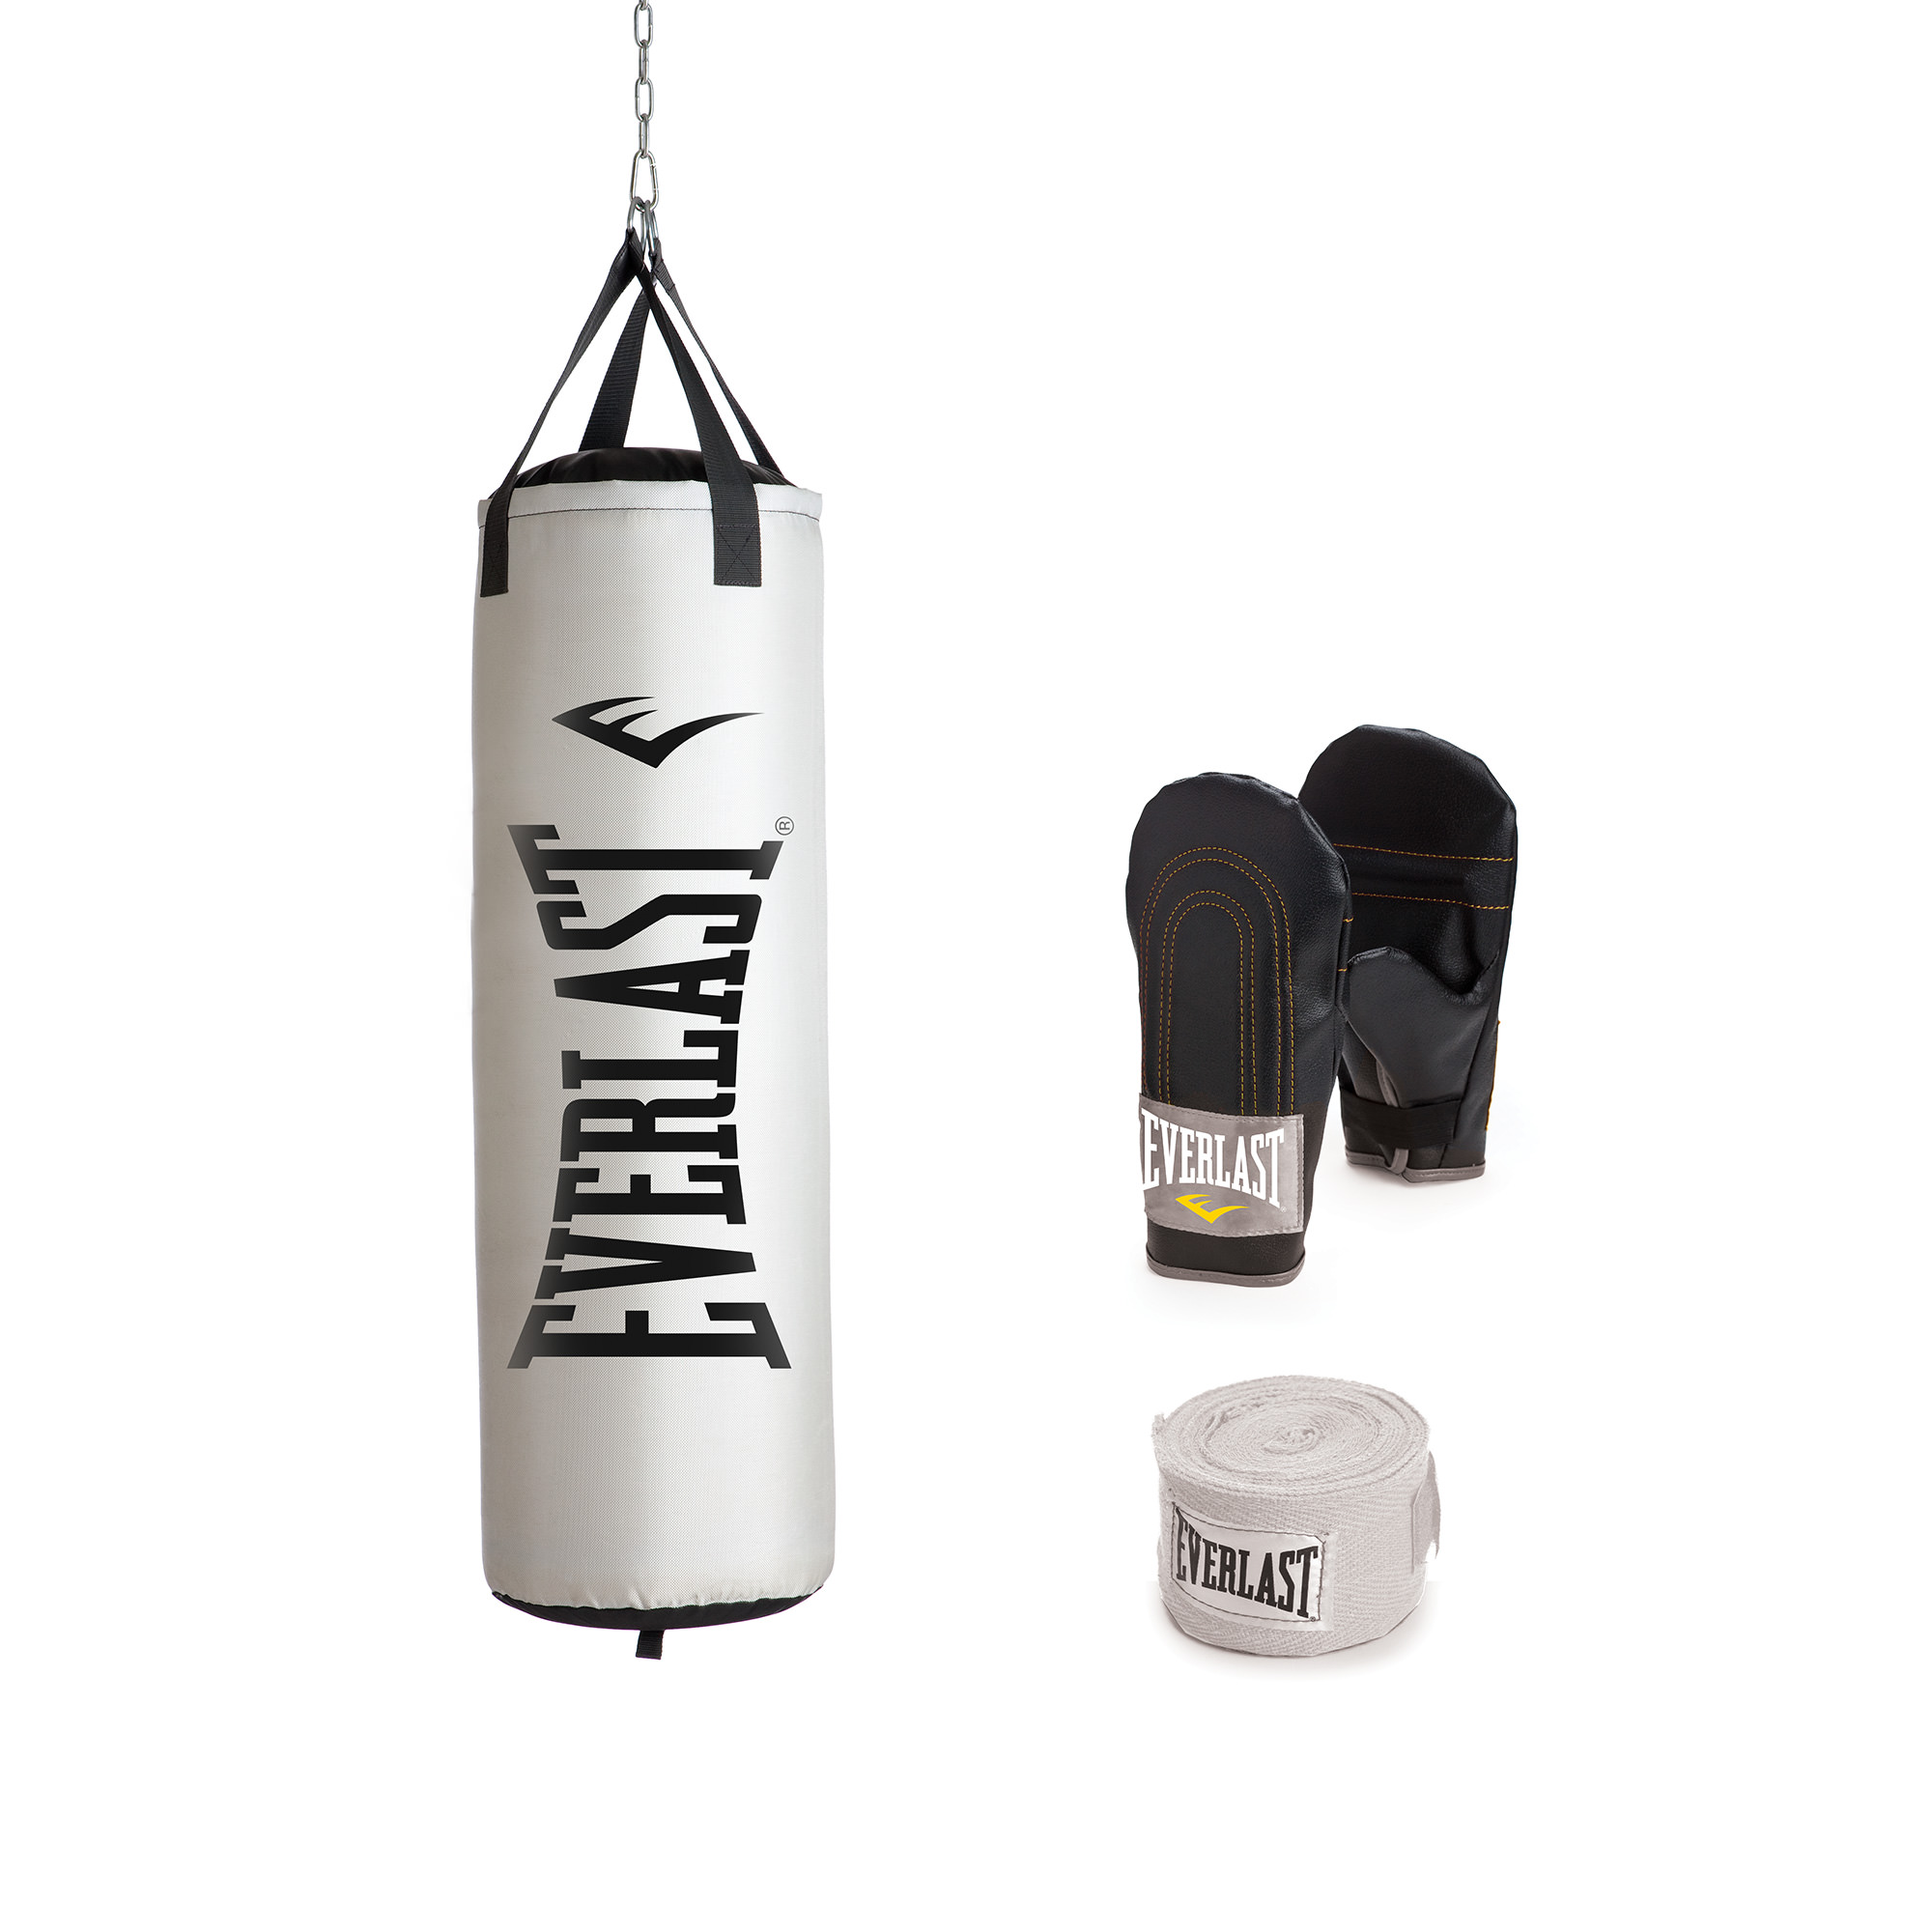
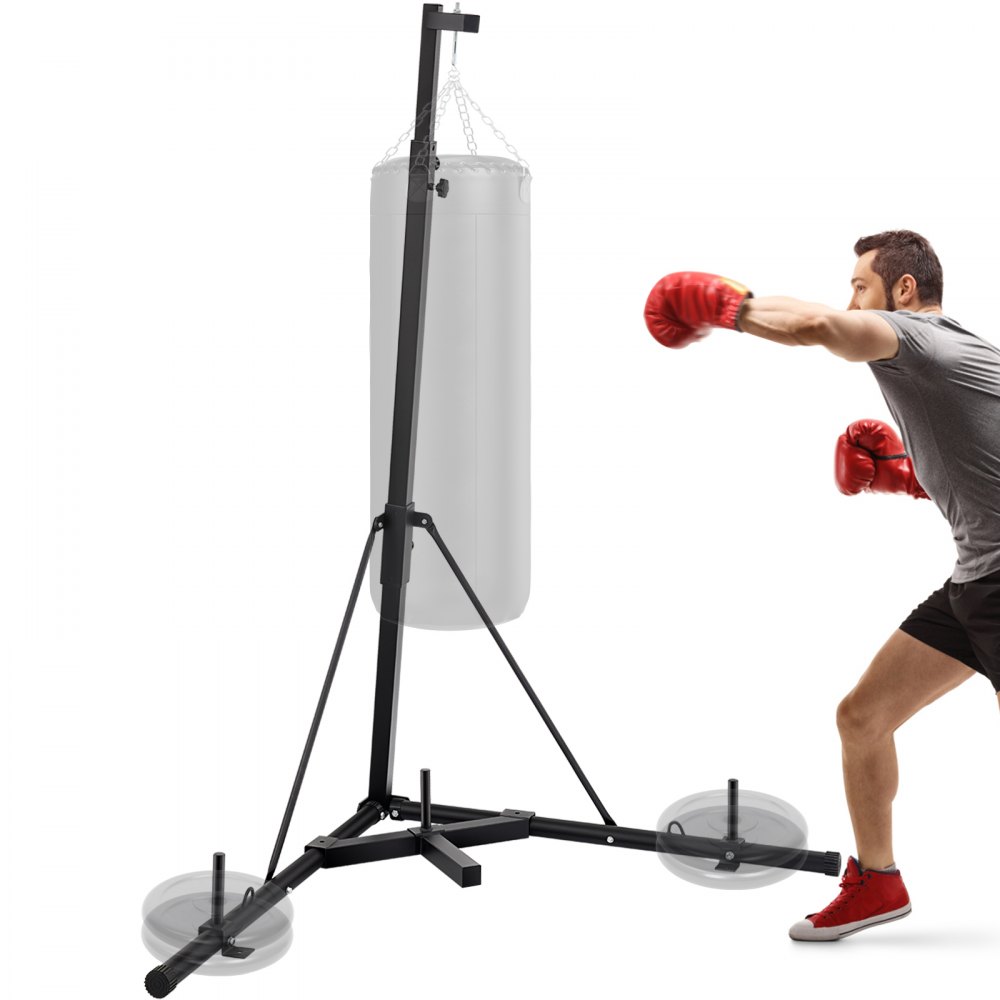
Hanging Punching Bags
Hanging punching bags are a traditional choice for many athletes. Here are key points:
- Space Requirement: These bags hang from the ceiling, so adequate overhead space is necessary.
- Movement: They swing when struck, adding a dynamic element to dodge and strike.
- Installation: They require strong ceiling mounts or a stand, which means they’re less portable.
- Variety: They come in different sizes and weights, catering to all skill levels.
These bags are great for those with a more permanent workout area.
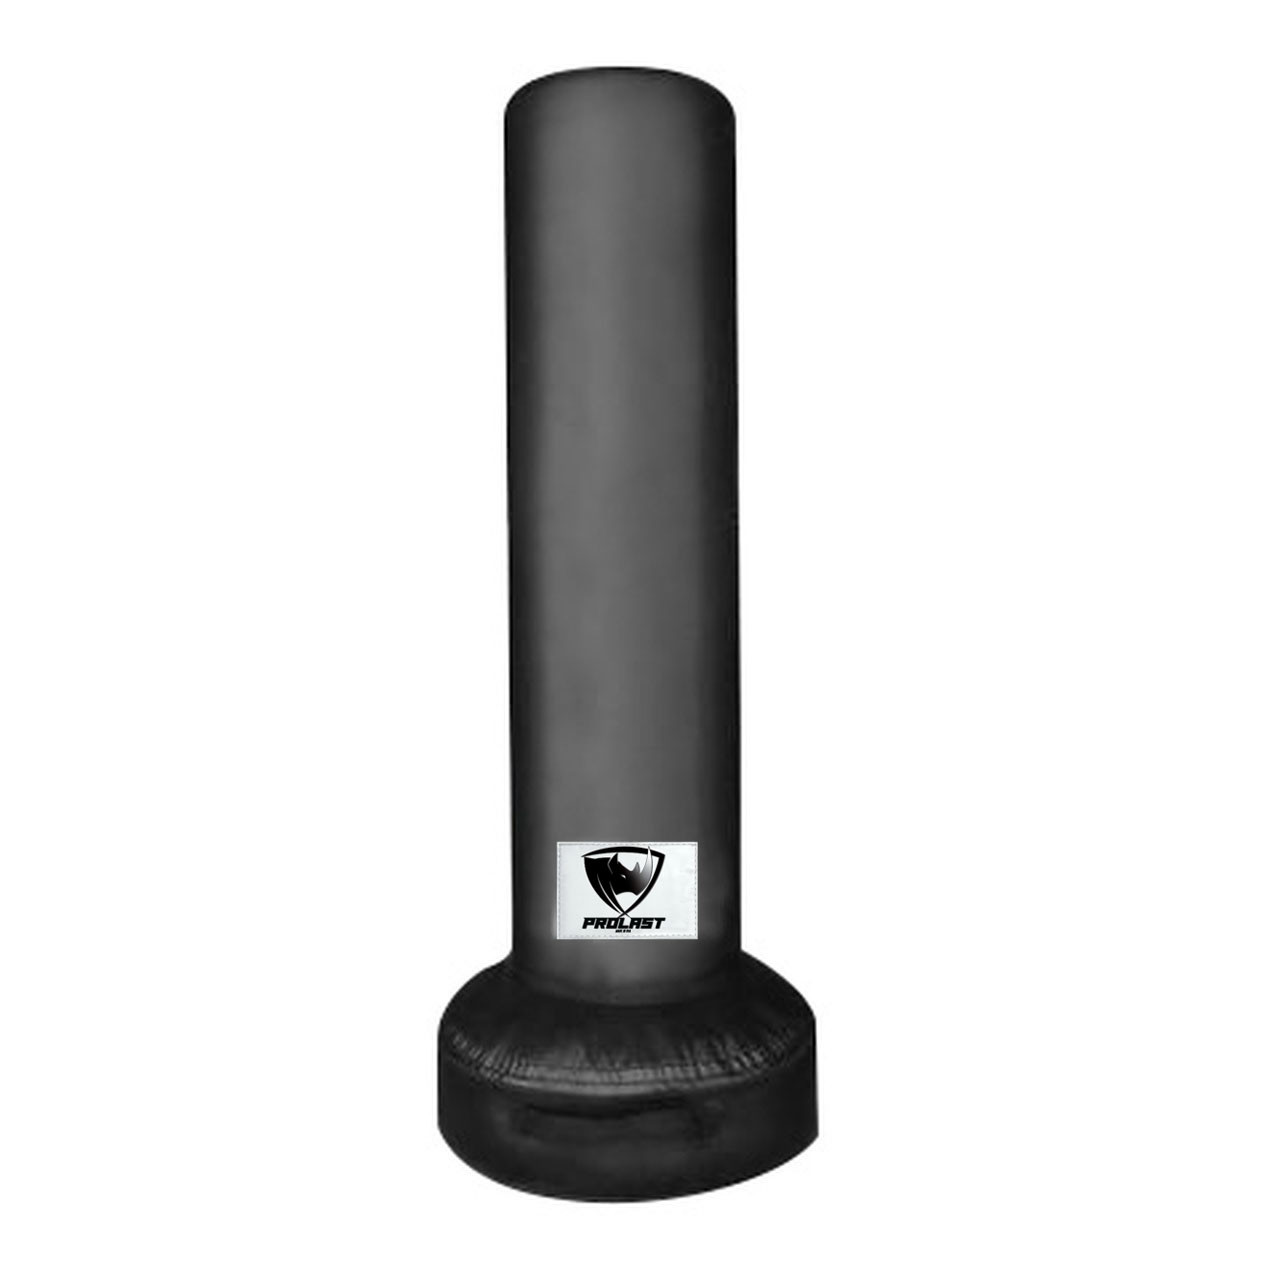
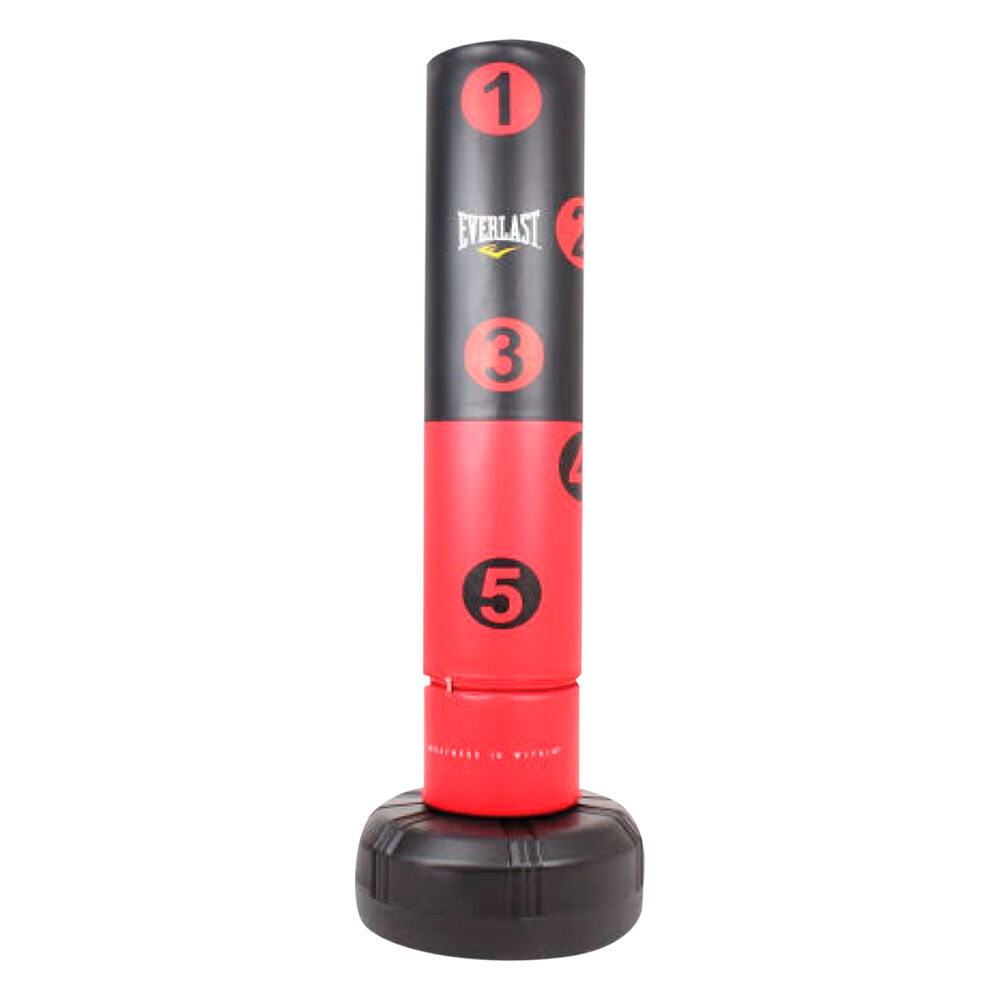
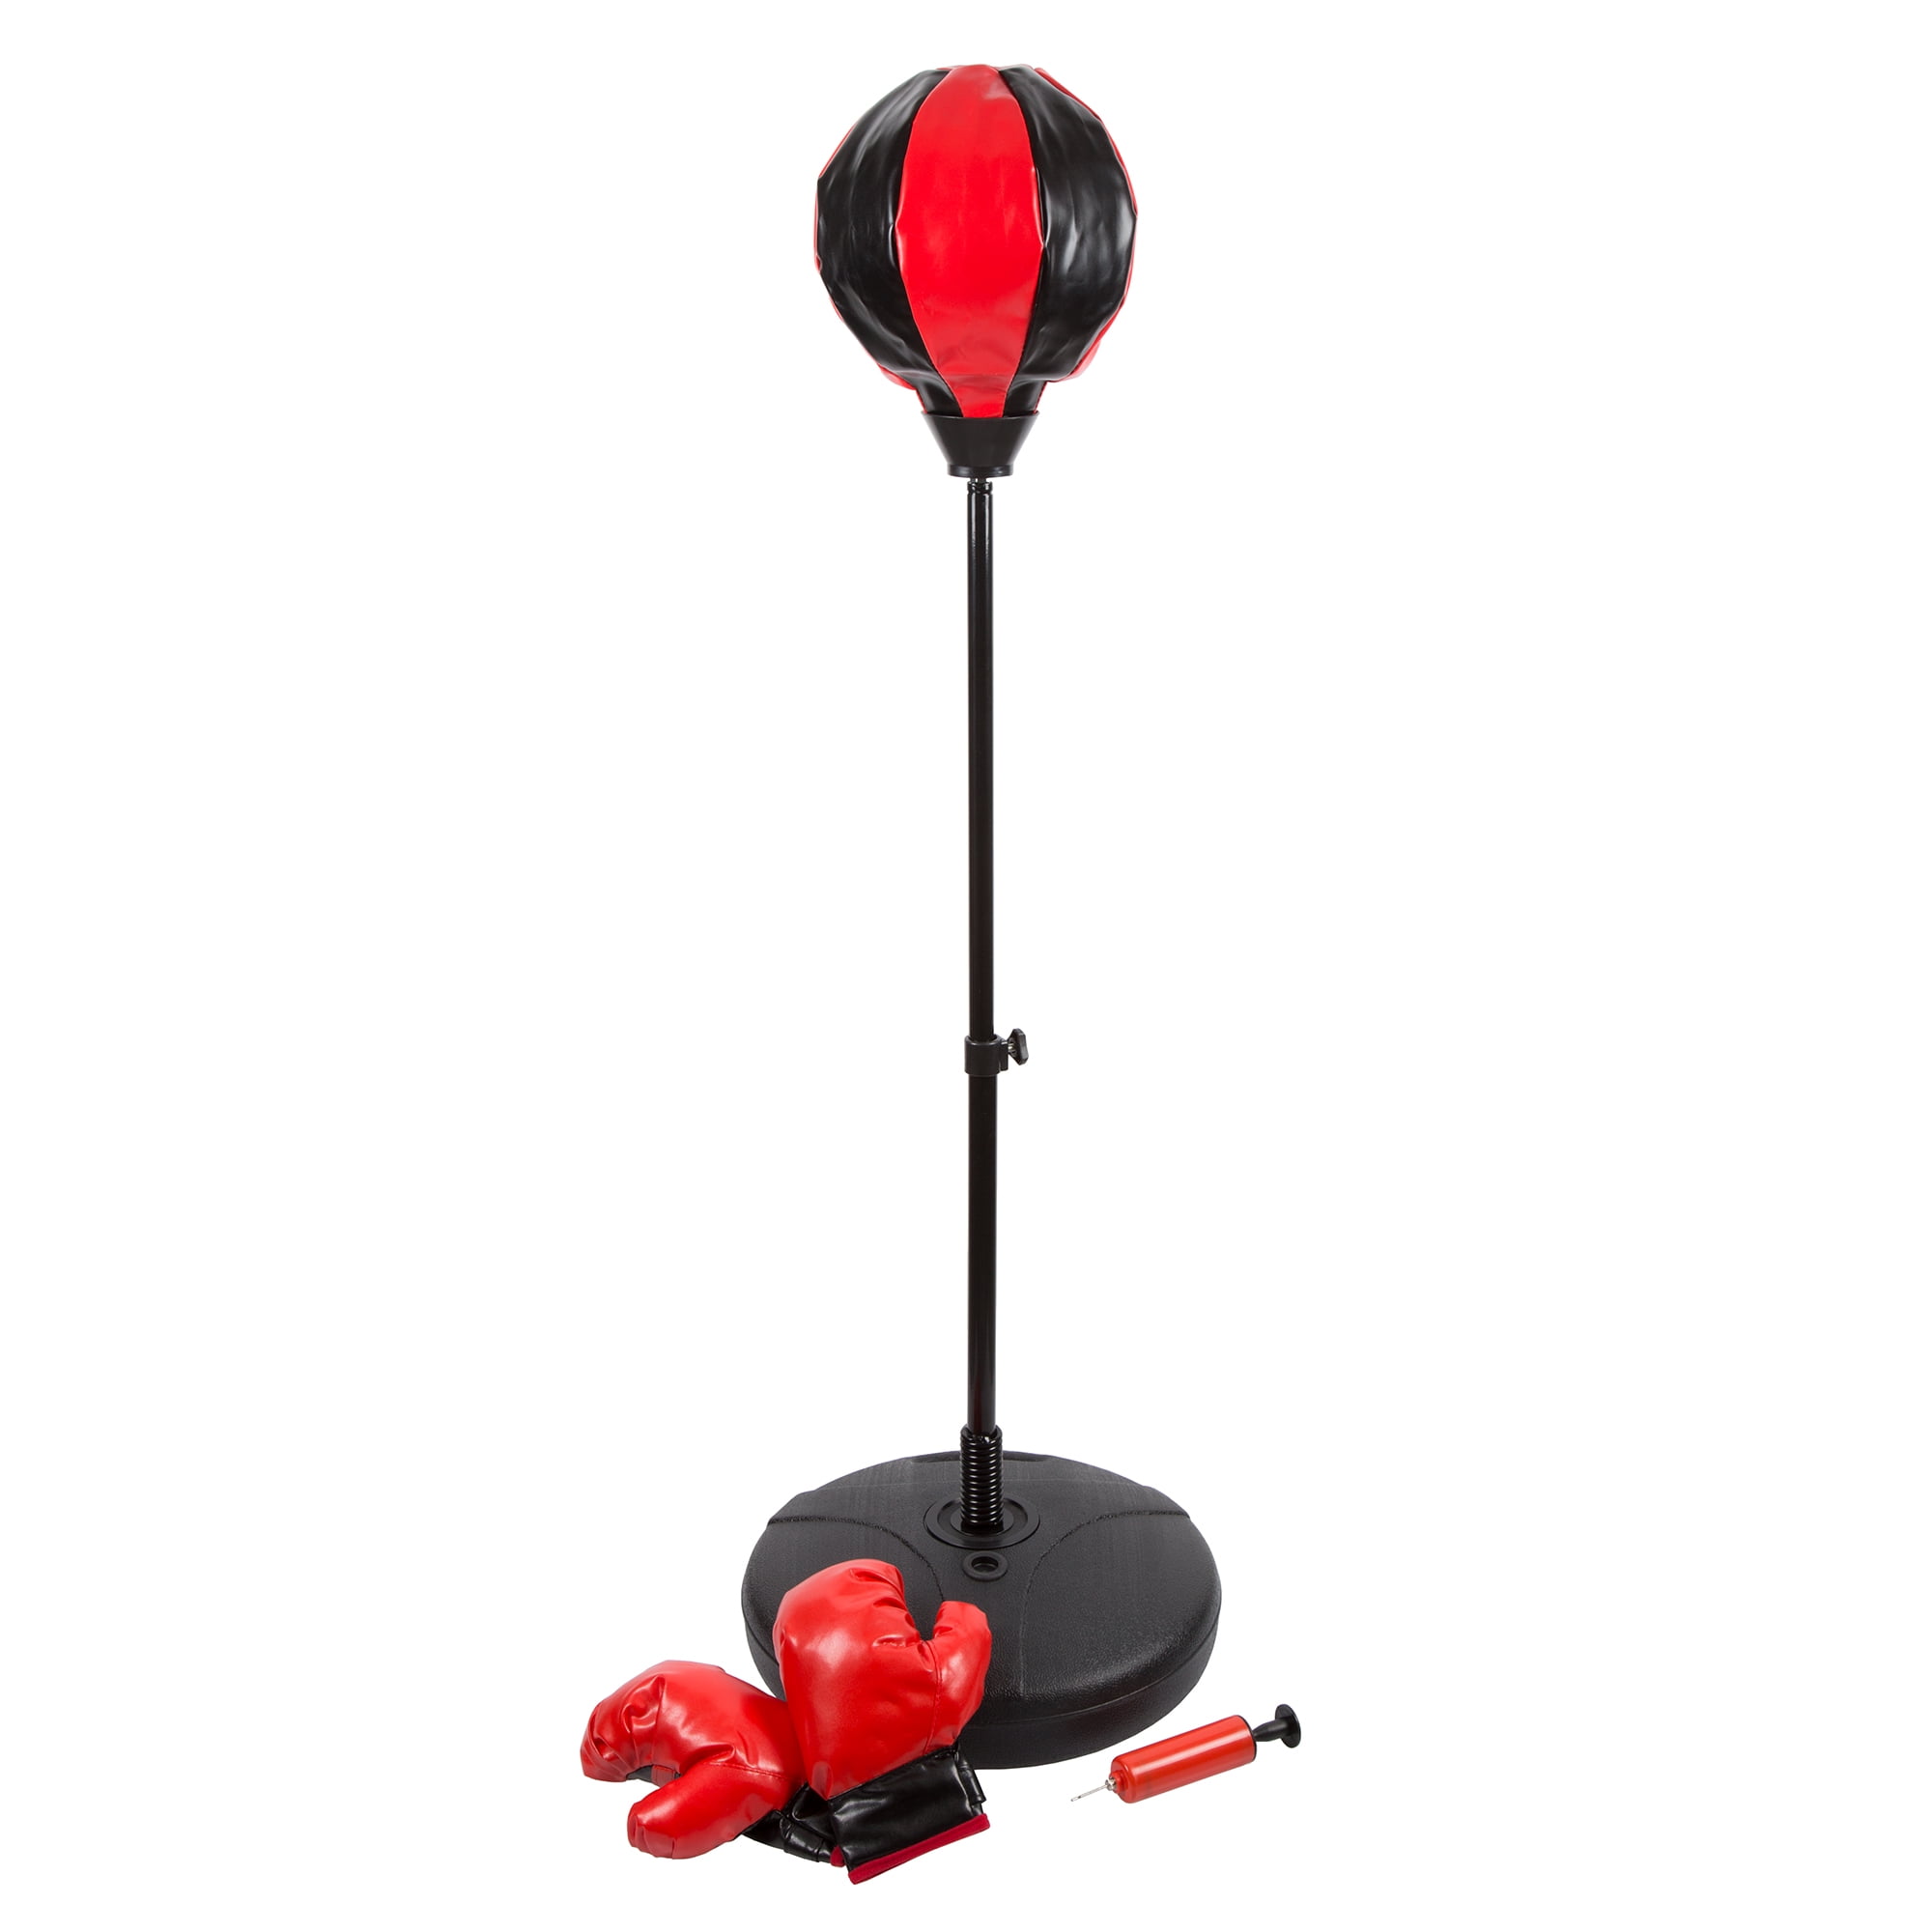
Free-Standing Punching Bags
Free-standing models are another popular choice. Here’s what to know about them:
- Base Design: They have a heavy, refillable base. They stand upright without mounting.
- Portability: Easy to move around or tuck away, making them space-efficient.
- Versatility: Suitable for kicking and punching, they cater to diverse training methods.
- Stability: They can wobble or tip but can be readjusted to an upright position easily.
Free-standing bags are good if you often change your workout location or have limited space.